
Amazon Web Service’s S3 Buckets are my preferred method for inserting images into content that might go into things like email signatures. While a free service like Dropbox could be used instead, images don’t always reliably show when composing new emails. That can leave people within an organization confused about whether their signatures will appear correctly on the receiving end, and they may spend unnecessary time asking IT departments whether their signatures are working as intended or testing it themselves. While image hosting is something that we can gladly help you with, some people prefer that their internal departments handle any troubleshooting involved in hosting images. This guide is for those who prefer to keep things in-house. Make sure to keep all content for your signature project grouped within this bucket rather than across other hosting options to keep troubleshooting simple.
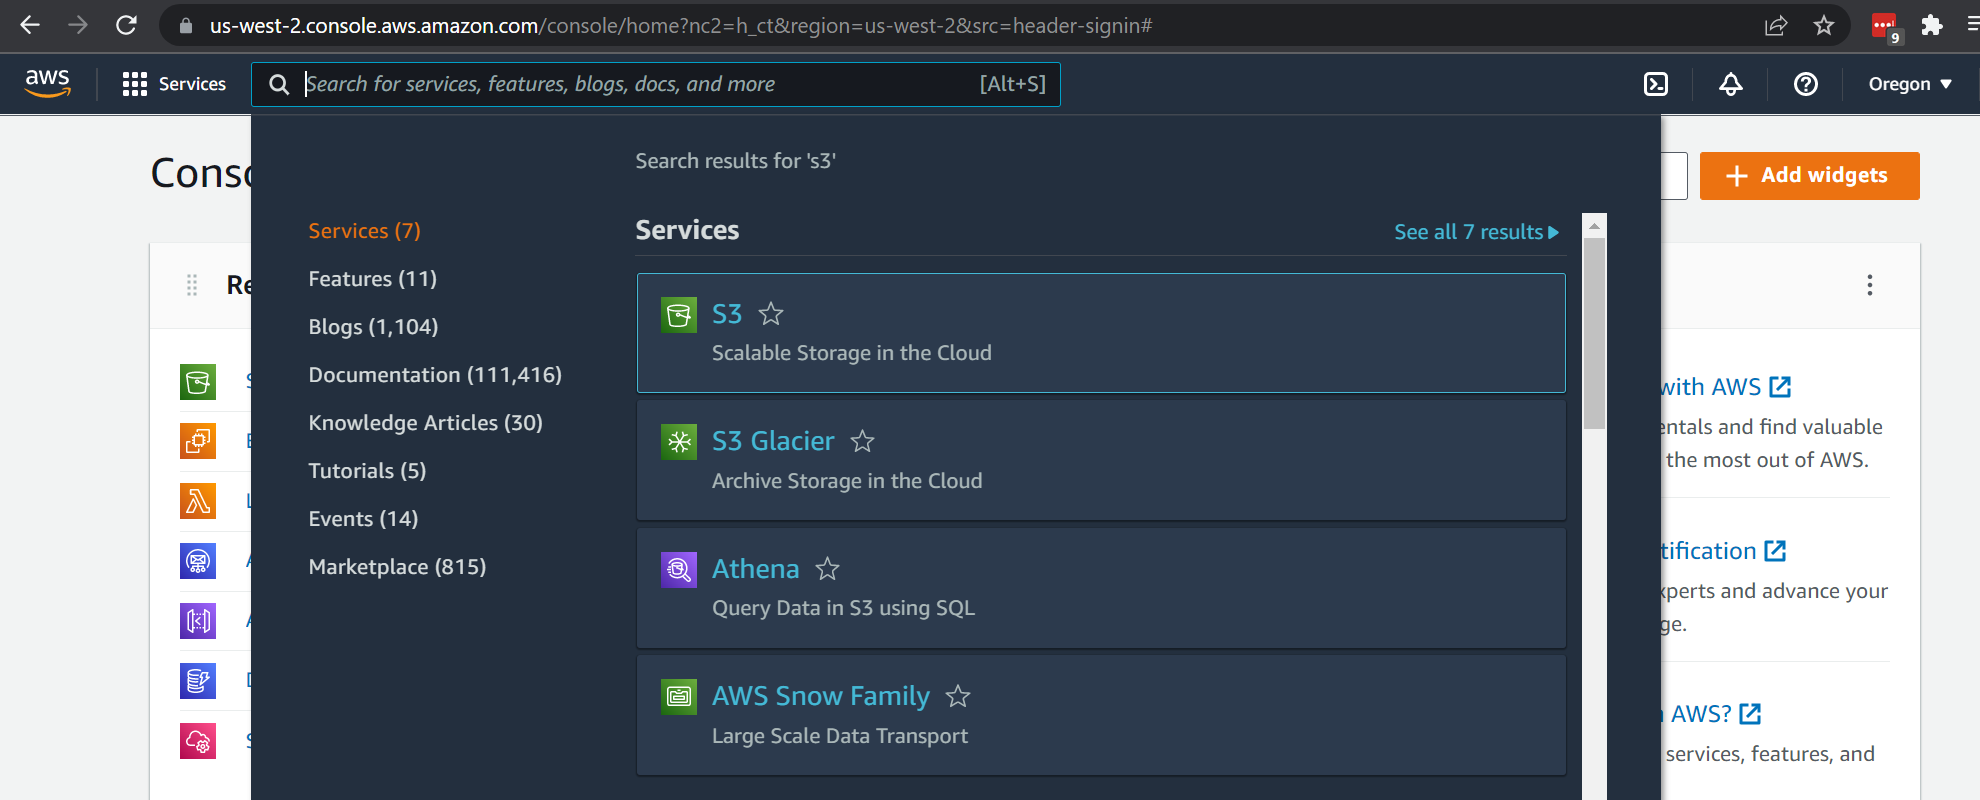
Search for S3 in the AWS search bar
The very first step is to have an AWS account, and then to find S3 among all of the other services that AWS provides. The easiest way to find it is through the search bar at the top of the user console. Search S3 and it will appear under ‘services’.
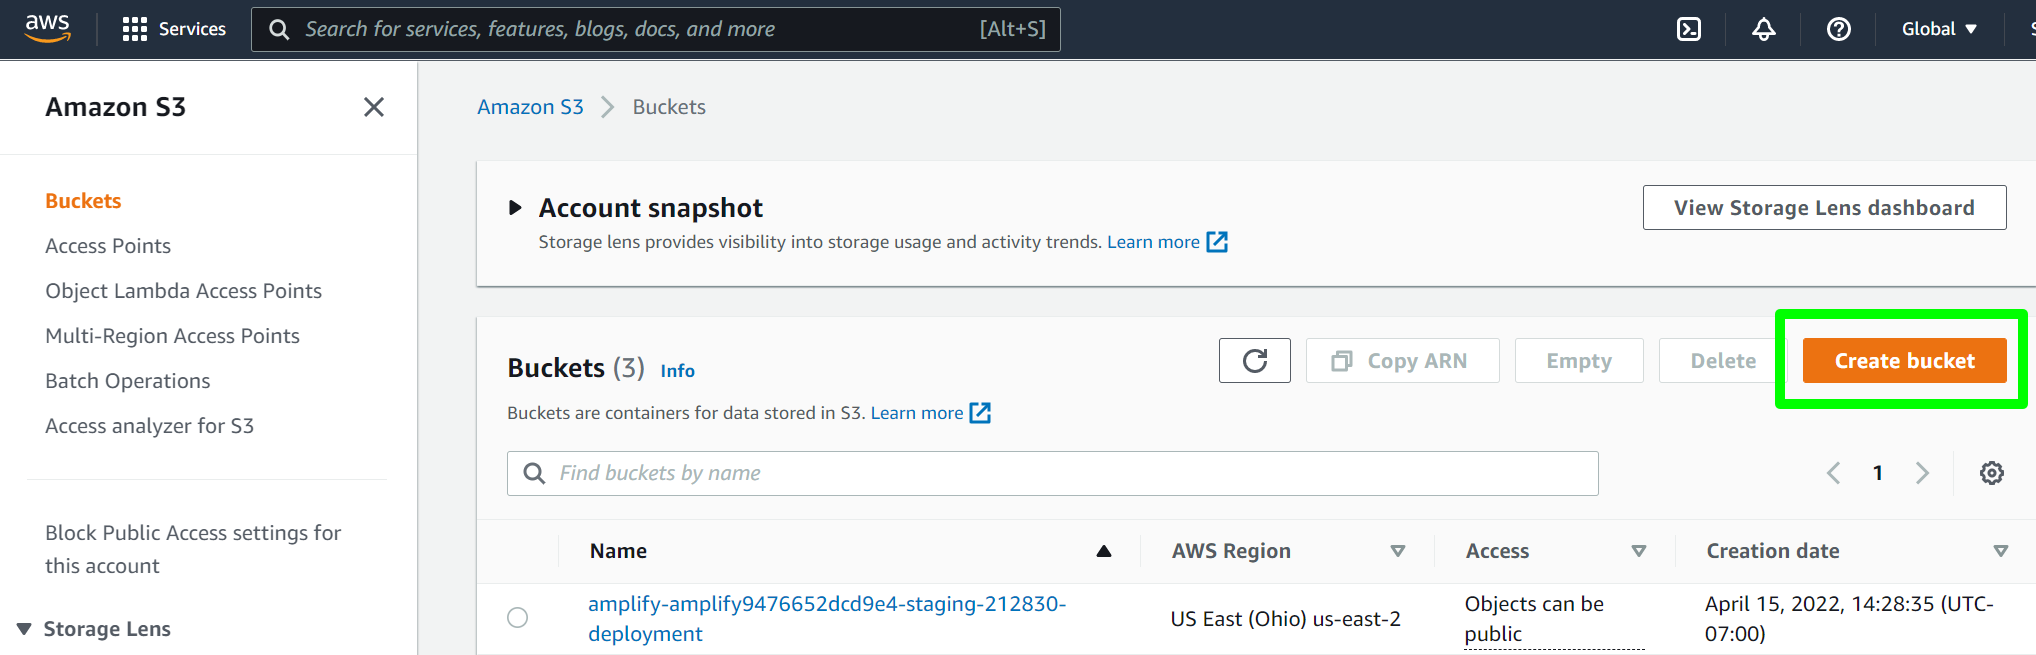
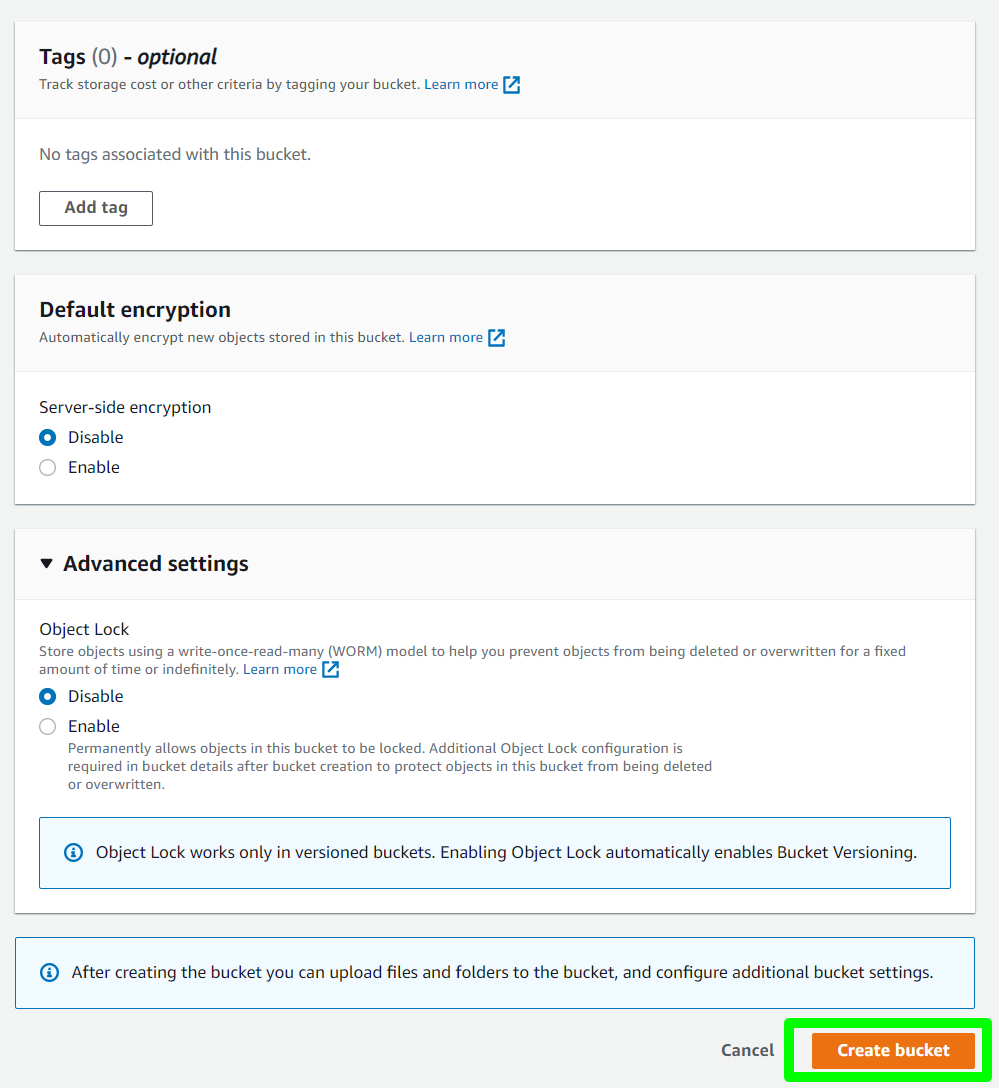
Create a new bucket
Simple as shown in the image below:
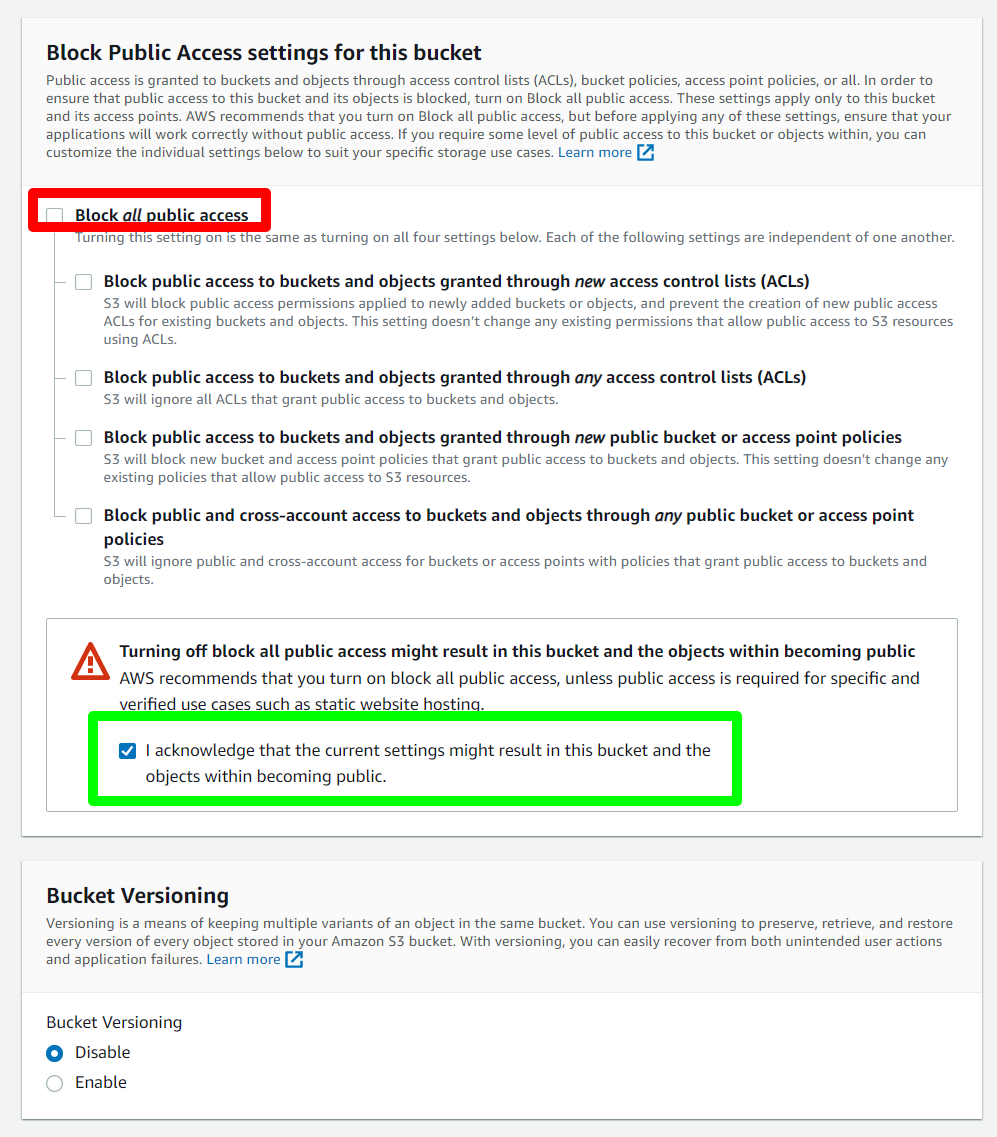
Name the bucket and set permissions
Buckets should either combine all words with no spaces, or for readability only use hypens ‘-’ between words. Next ensure that ACL’s are enabled, and uncheck the option to ‘block all public access’ as we specifically want anyone to be able to view them. That will open a warning box that we want to check that acknowledges that we understand ’these objects might become public’. All other options in this step are selected by default, so they have not been highlighted in this tutorial.

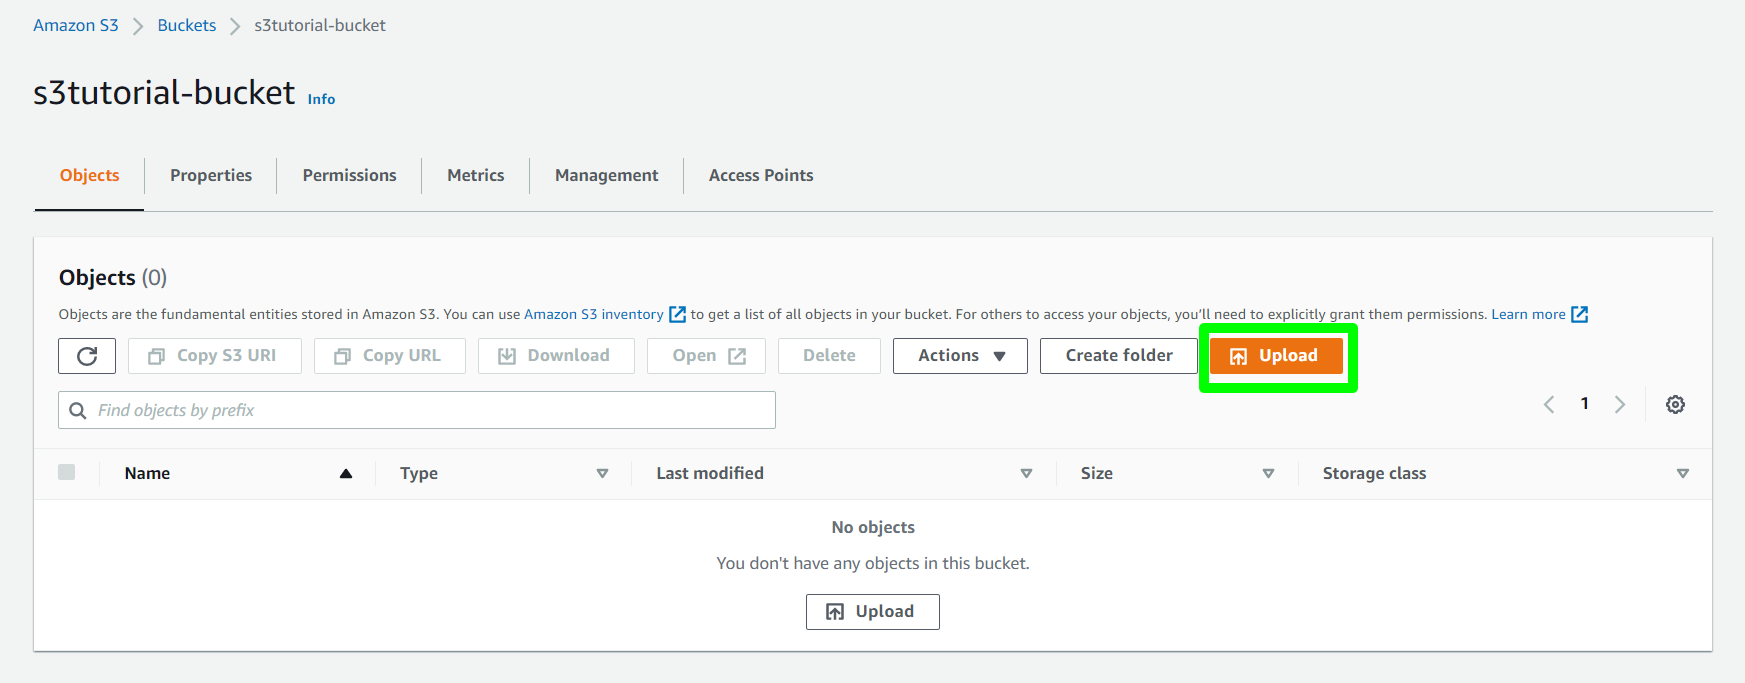
With the new bucket created, click to upload files
Our next step is to click the button to upload files to our new bucket.
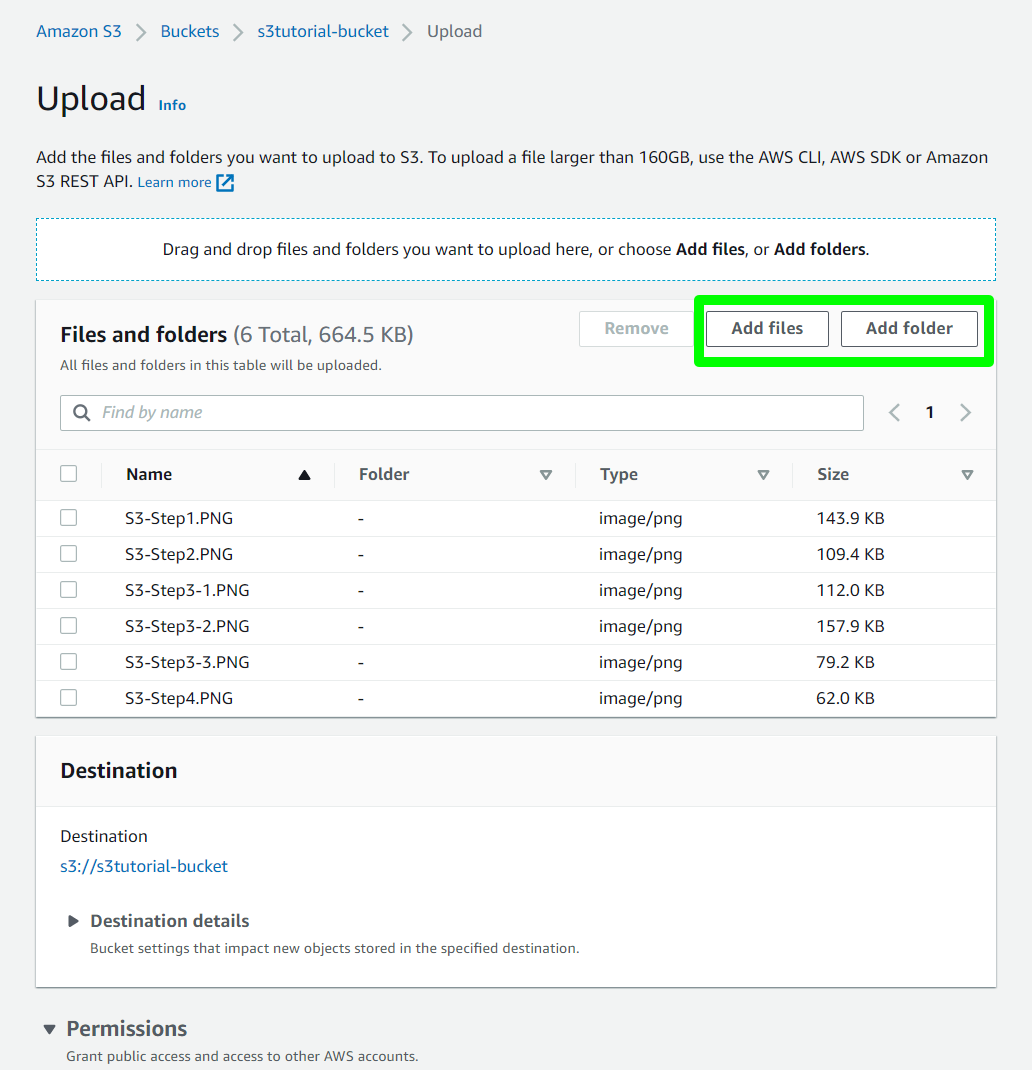
Drag and drop, or create new folders and upload files via window
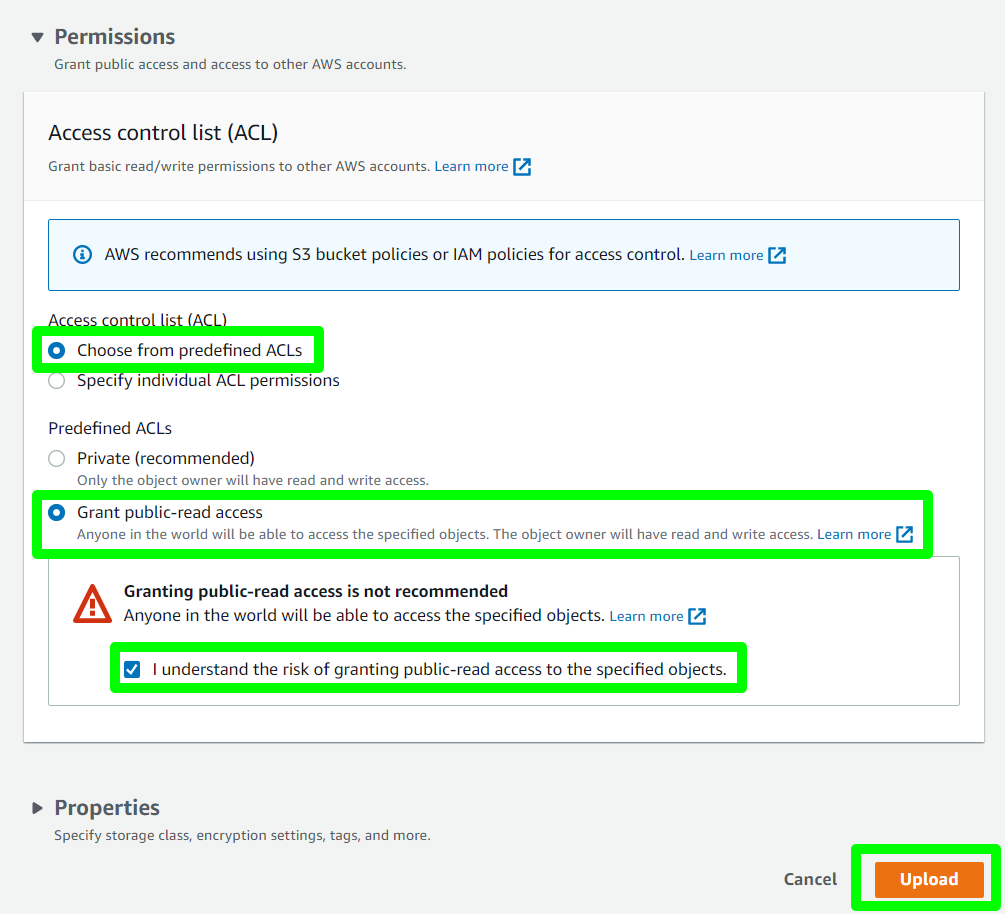
Organize the files as you wish as you may want to differentiate between content like social media icons, logos, and employee photos. Because we don’t have many files in this example, we’ve opted to put all content into the main bucket folder. Make sure to set ACL permissions at this point to choose predefined ACL’s, select public-read access, and check the disclaimer acknowledging that anyone can view these files (including the customers we send signatures to). Click ‘upload’ to start the process.
With new files uploaded, click one to find its location
Our two green rectangles show the link to our bucket repo where the files are now contained as well as links to all of the files we just uploaded. Click an image to see information about where it’s stored, or click the repo link to set permissions to public if you forgot to in the last step.

Click actions in the bucket repo if you forgot to make these images public
select all the images that need to be made public and then click the ‘actions’ button in the window. Towards the bottom of the drop-down you’ll see the option to make the files public.

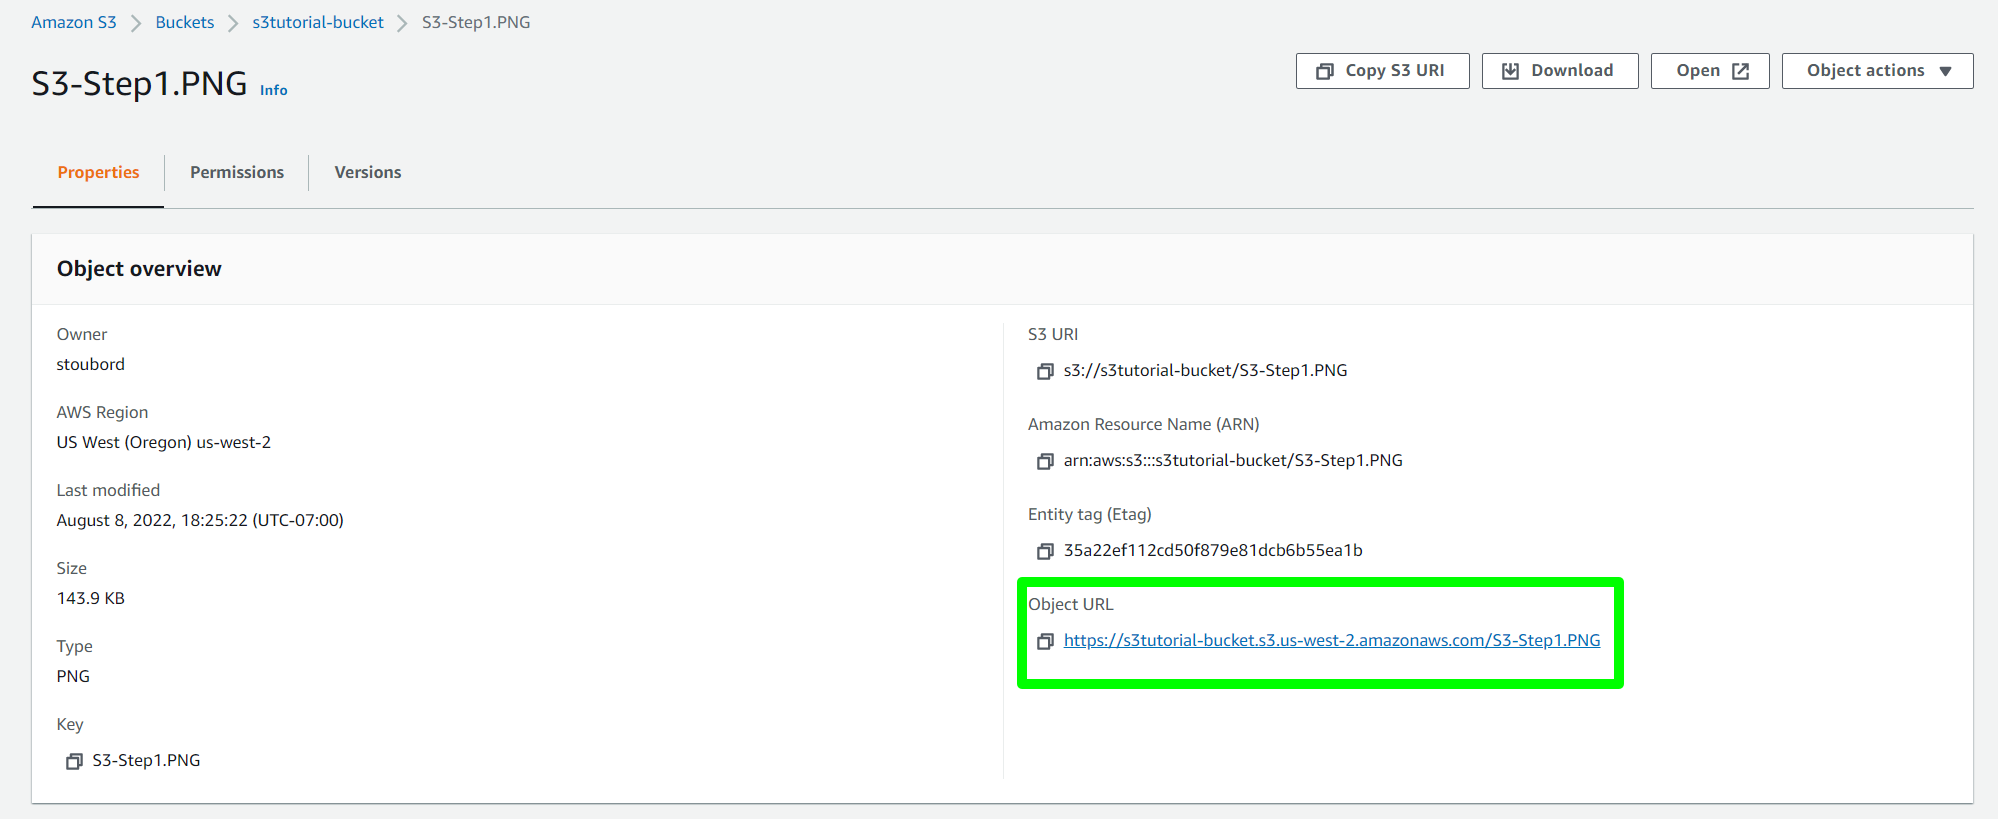
The Object URL is what you use when embedding images
Once you click on a file within the S3 bucket you’ll be brought to a page with informations about the file itself. The important information needed for our purposes is the ‘Object URL’. If you click on that link you’ll view the uploaded file/image and see that the URL matches what was given on the AWS Object page.
You don’t neccessarily need to click every file that you’ve uploaded to get the URL for that image. If you know what the image name is you can just replace the part of the image link that contains the filename, and you’ll get the filename you’re looking for.
Example:
https://s3tutorial-bucket.s3.us-west-2.amazonaws.com/S3-Step1.PNG
Change this link to say ‘Step2.PNG’ at the end instead and you’ll see the photo changes to reflect step 2 of this tutorial. Keep in mind that if you have different folders within your bucket that will change how the files are represented in the URL itself, but the structure will be similar and include the folder name before the filename.
You can view larger versions of the images included in this tutorial by right clicking the image and selecting ‘inspect’. Then click the ‘src’ attribute link for the <img> tag that gets highlighted in your browser, and it will open the image in its own browser tab. Please feel free to contact me if you need assistance in your project.


